 When you’re called to inspect an HVAC system that is under-performing, there are many variables to consider. Sometimes the problem is as simple as a blocked vent or grille, but usually more complex diagnostics are required. One variable that is important to understand is static pressure, a fundamental HVAC diagnostic that is critical to a balanced system.
Static pressure is also known as system air resistance, and it is essentially a measure of the resistance to airflow that occurs in the HVAC system. Symptoms of a static pressure issue include excessive noise, hot and cold spots in the home, and even equipment failure. Identifying a static pressure issue before it causes a system failure will save your customers a lot of hassle and money.
Before you get into the process of measuring static pressure, gather all the information you can about the equipment. Find model numbers, note the horsepower for fans and identify any non-factory accessories that have been used. If there are obvious issues, such as dirty filters, deal with them before you run your test. Check if the settings on the equipment match the manufacturer’s specs. You will want to refer to the equipment documentation after you’ve taken your measurements as well.
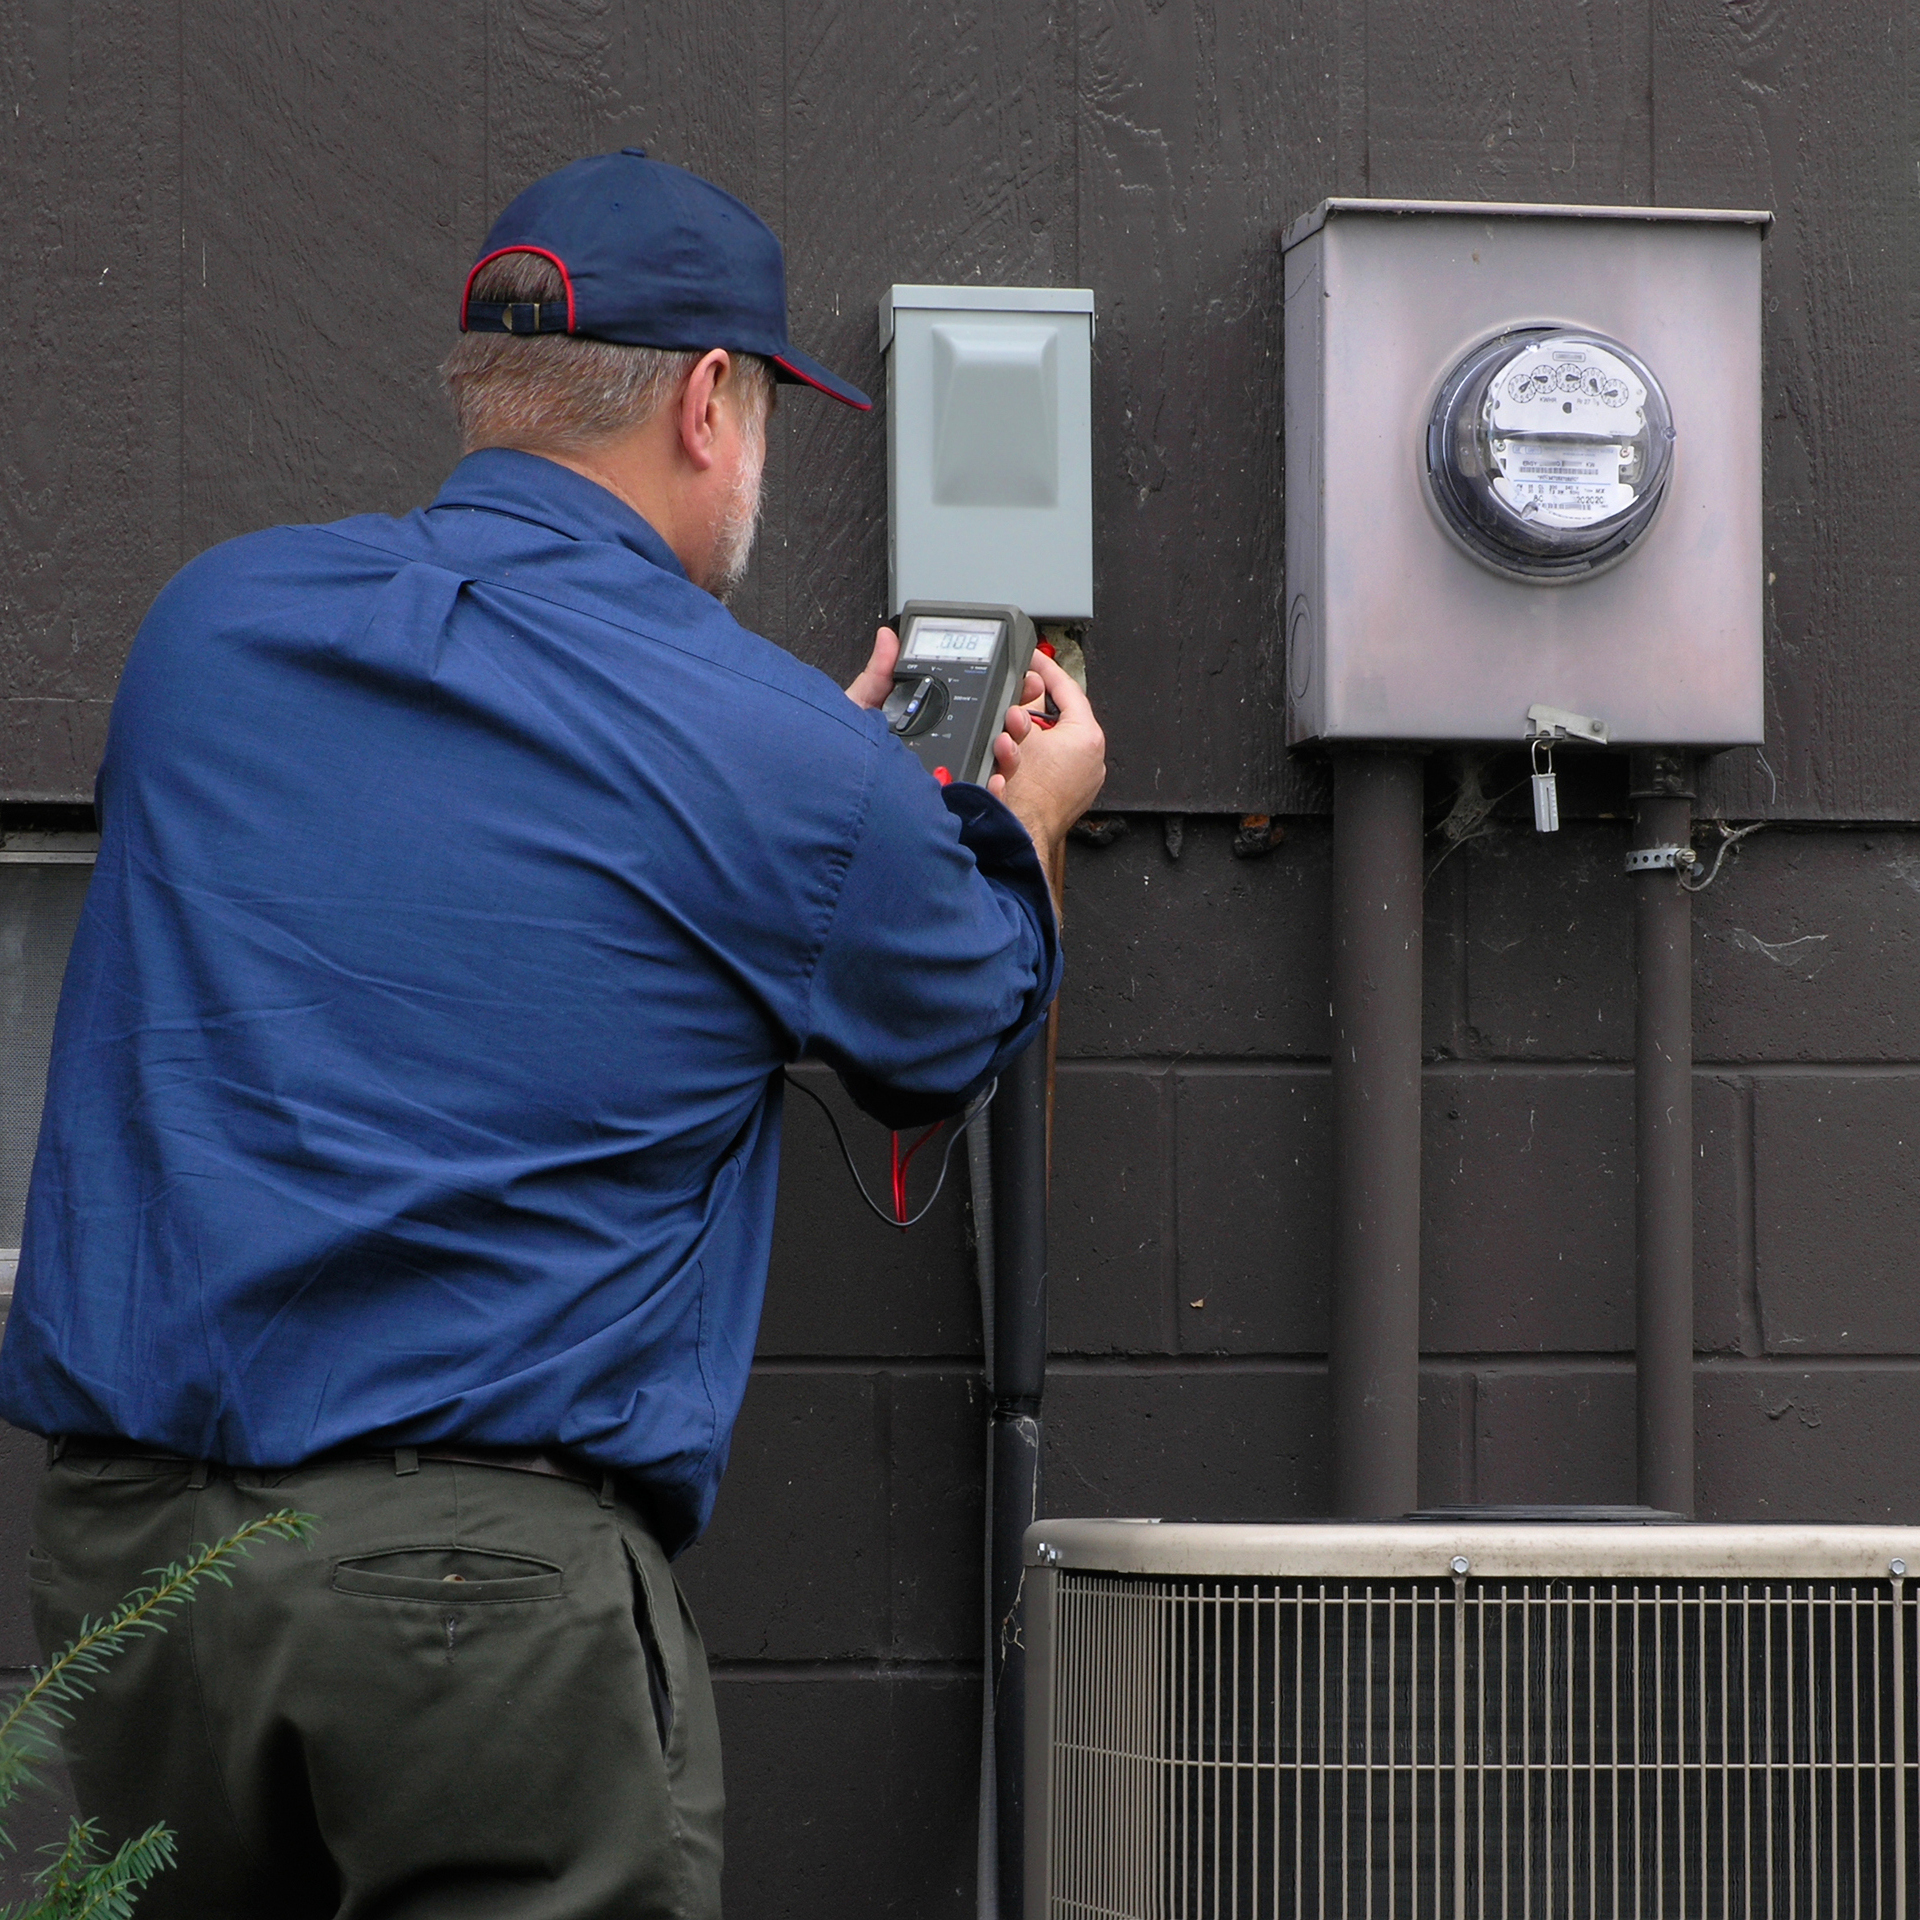
Static pressure is measured using a manometer with pressure probes. Early manometers used a column of water to reflect system pressure. The air pressure physically elevated the water in a measured in inches, which is why static pressure is expressed today in inches.
Readings need to be taken at the supply side and return side of the system. This will require you to drill into the equipment. The supply-side reading must be taken between the furnace and the external cased coil so that the resistance caused by pushing air through the coil is factored in. A common error here is to take a measurement only at the supply plenum.
To take a reading between the furnace and the coil, you will need to drill into the furnace cabinet. Avoid drilling into the coil cabinet. You’ll also drill a hole downstream of the coil in the supply plenum. This gives you a measurement of the resistance caused by the coil.
For the return side, you will take a reading between the furnace and the filter. Always drill carefully, avoiding condensate pans, circuit boards, and cap tubes. Use a sheath on your drill bit to ensure that you don’t drill more deeply than you intend.
Insert your manometer probe into the holes for your reading. Make sure to zero the gauge before taking your reading. Each gauge will have slightly different instructions for this. You should set your gauge to high pressure (+) for your supply-side measurement and low pressure (-) for your return-side measurement.
Once you have readings from the supply and return sides, your external static pressure measurement is a matter of simple addition. Ignore the positive and negative numbers, and add up the values for both readings.
For example, if your supply reading is (+) 0.28 and your return reading is (-) 0.20, the static pressure is 0.48. You’ll need to subtract the pressure drop over the coil and the pressure drop over the filter like this:
0.28 – 0.04 (pressure drop across coil) + 0.20 – 0.04 (pressure drop across filter) = 0.40
To understand what the static pressure for the system should be, see the equipment specs. A low static pressure reading suggests that there may be leaks in the ducts or that the fan speed needs to be adjusted. High static pressure is an indicator of blocked airflow, which can be caused by closed dampers, kinks in flex duct, or bad ductwork design.
Static pressure should be measured whenever you install a new system as it’s a great baseline for future service calls. That additional step can help you identify issues before they become big – and expensive – problems for your customers.